Having a good window manager will help in navigating windows quickly. You can accomplish this by having an i3 window manager. Below is how you can configure the i3 window manager in Ubuntu.
Installation
Use apt to install i3.
sudo apt install i3
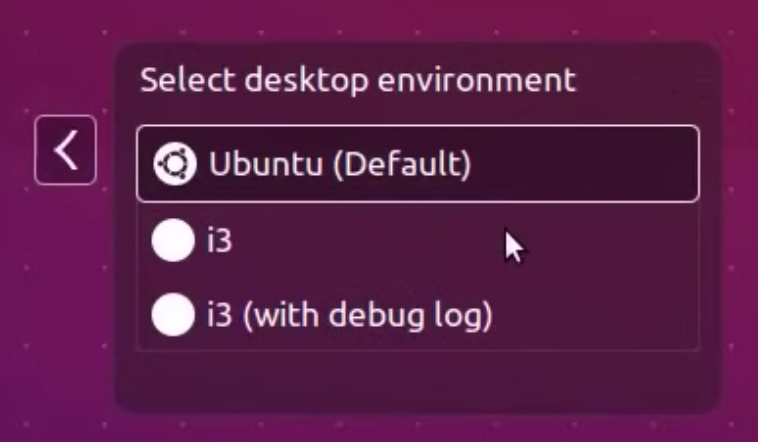
Logout and when logging back select i3 as the desktop environment.
Follow the prompts for generating a config file ~/.config/i3/config choose yes and
for selecting default modifier - Win/Alt key, select any one.
Key bindings
Below are some keybindings have given by default. Here mod can be either Win or Alt key.
| Key shortcut | Action |
|---|---|
| mod + enter | To get default shell |
| mod + d | To activate dmenu |
| mod + j | To focus left window |
| mod + k | To focus down window |
| mod + l | To focus up window |
| mod + ; | To focus right window |
| mod + shift + j | To move window to left |
| mod + shift + k | To move window to down |
| mod + shift + l | To move window up |
| mod + shift + ; | To move window down |
| mod + h | Change split orientation to horizontal |
| mod + v | Change split orientation to vertical |
| mod + f | Full screen toggle |
| mod + shift + space | Floating toggle |
| mod + shift + q | To kill focused window |
| mod + (0-9) | switching workspaces |
Configuring i3
Font
Download your favorite font and copy the font to /usr/share/fonts or ~/.fonts.
Then in ~/.config/i3/config set the font like below.
font pango:MesloLGSDZ Nerd Font 10
Note: You can find the exact font name using fc-list | grep -i font-name
Wallpaper
To setting Wallpaper, you need to install feh.
sudo apt install feh
You can download any wallpaper (rename to wallpaper.jpg) and copy it to ~/.config/i3/.
Then in your i3 configuration, have the below line.
exec_always feh --bg-scale wallpaper.jpg
You can put a full path to the downloaded image.
Workspace icons
You can install Font Awesome fonts and go to fontawesome.com, search for the icon,
copy Unicode Glyph and paste it next to workspace numbers.
Colors
You can change the focused and unfocused window colors like below.
set $bg-color 	         #2f343f
set $inactive-bg-color   #2f343f
set $text-color          #f3f4f5
set $inactive-text-color #676E7D
set $urgent-bg-color     #E53935

# window colors
#                       border              background         text                 indicator
client.focused          $bg-color           $bg-color          $text-color          #00ff00
client.unfocused        $inactive-bg-color $inactive-bg-color $inactive-text-color #00ff00
client.focused_inactive $inactive-bg-color $inactive-bg-color $inactive-text-color #00ff00
client.urgent           $urgent-bg-color    $urgent-bg-color   $text-color          #00ff00
Bar

For setting up i3 bar, you can use i3-blocks, first install i3-blocks.
sudo apt install i3-blocks
Then copy the default configuration from cp /etc/i3blocks.conf ~/.config/i3
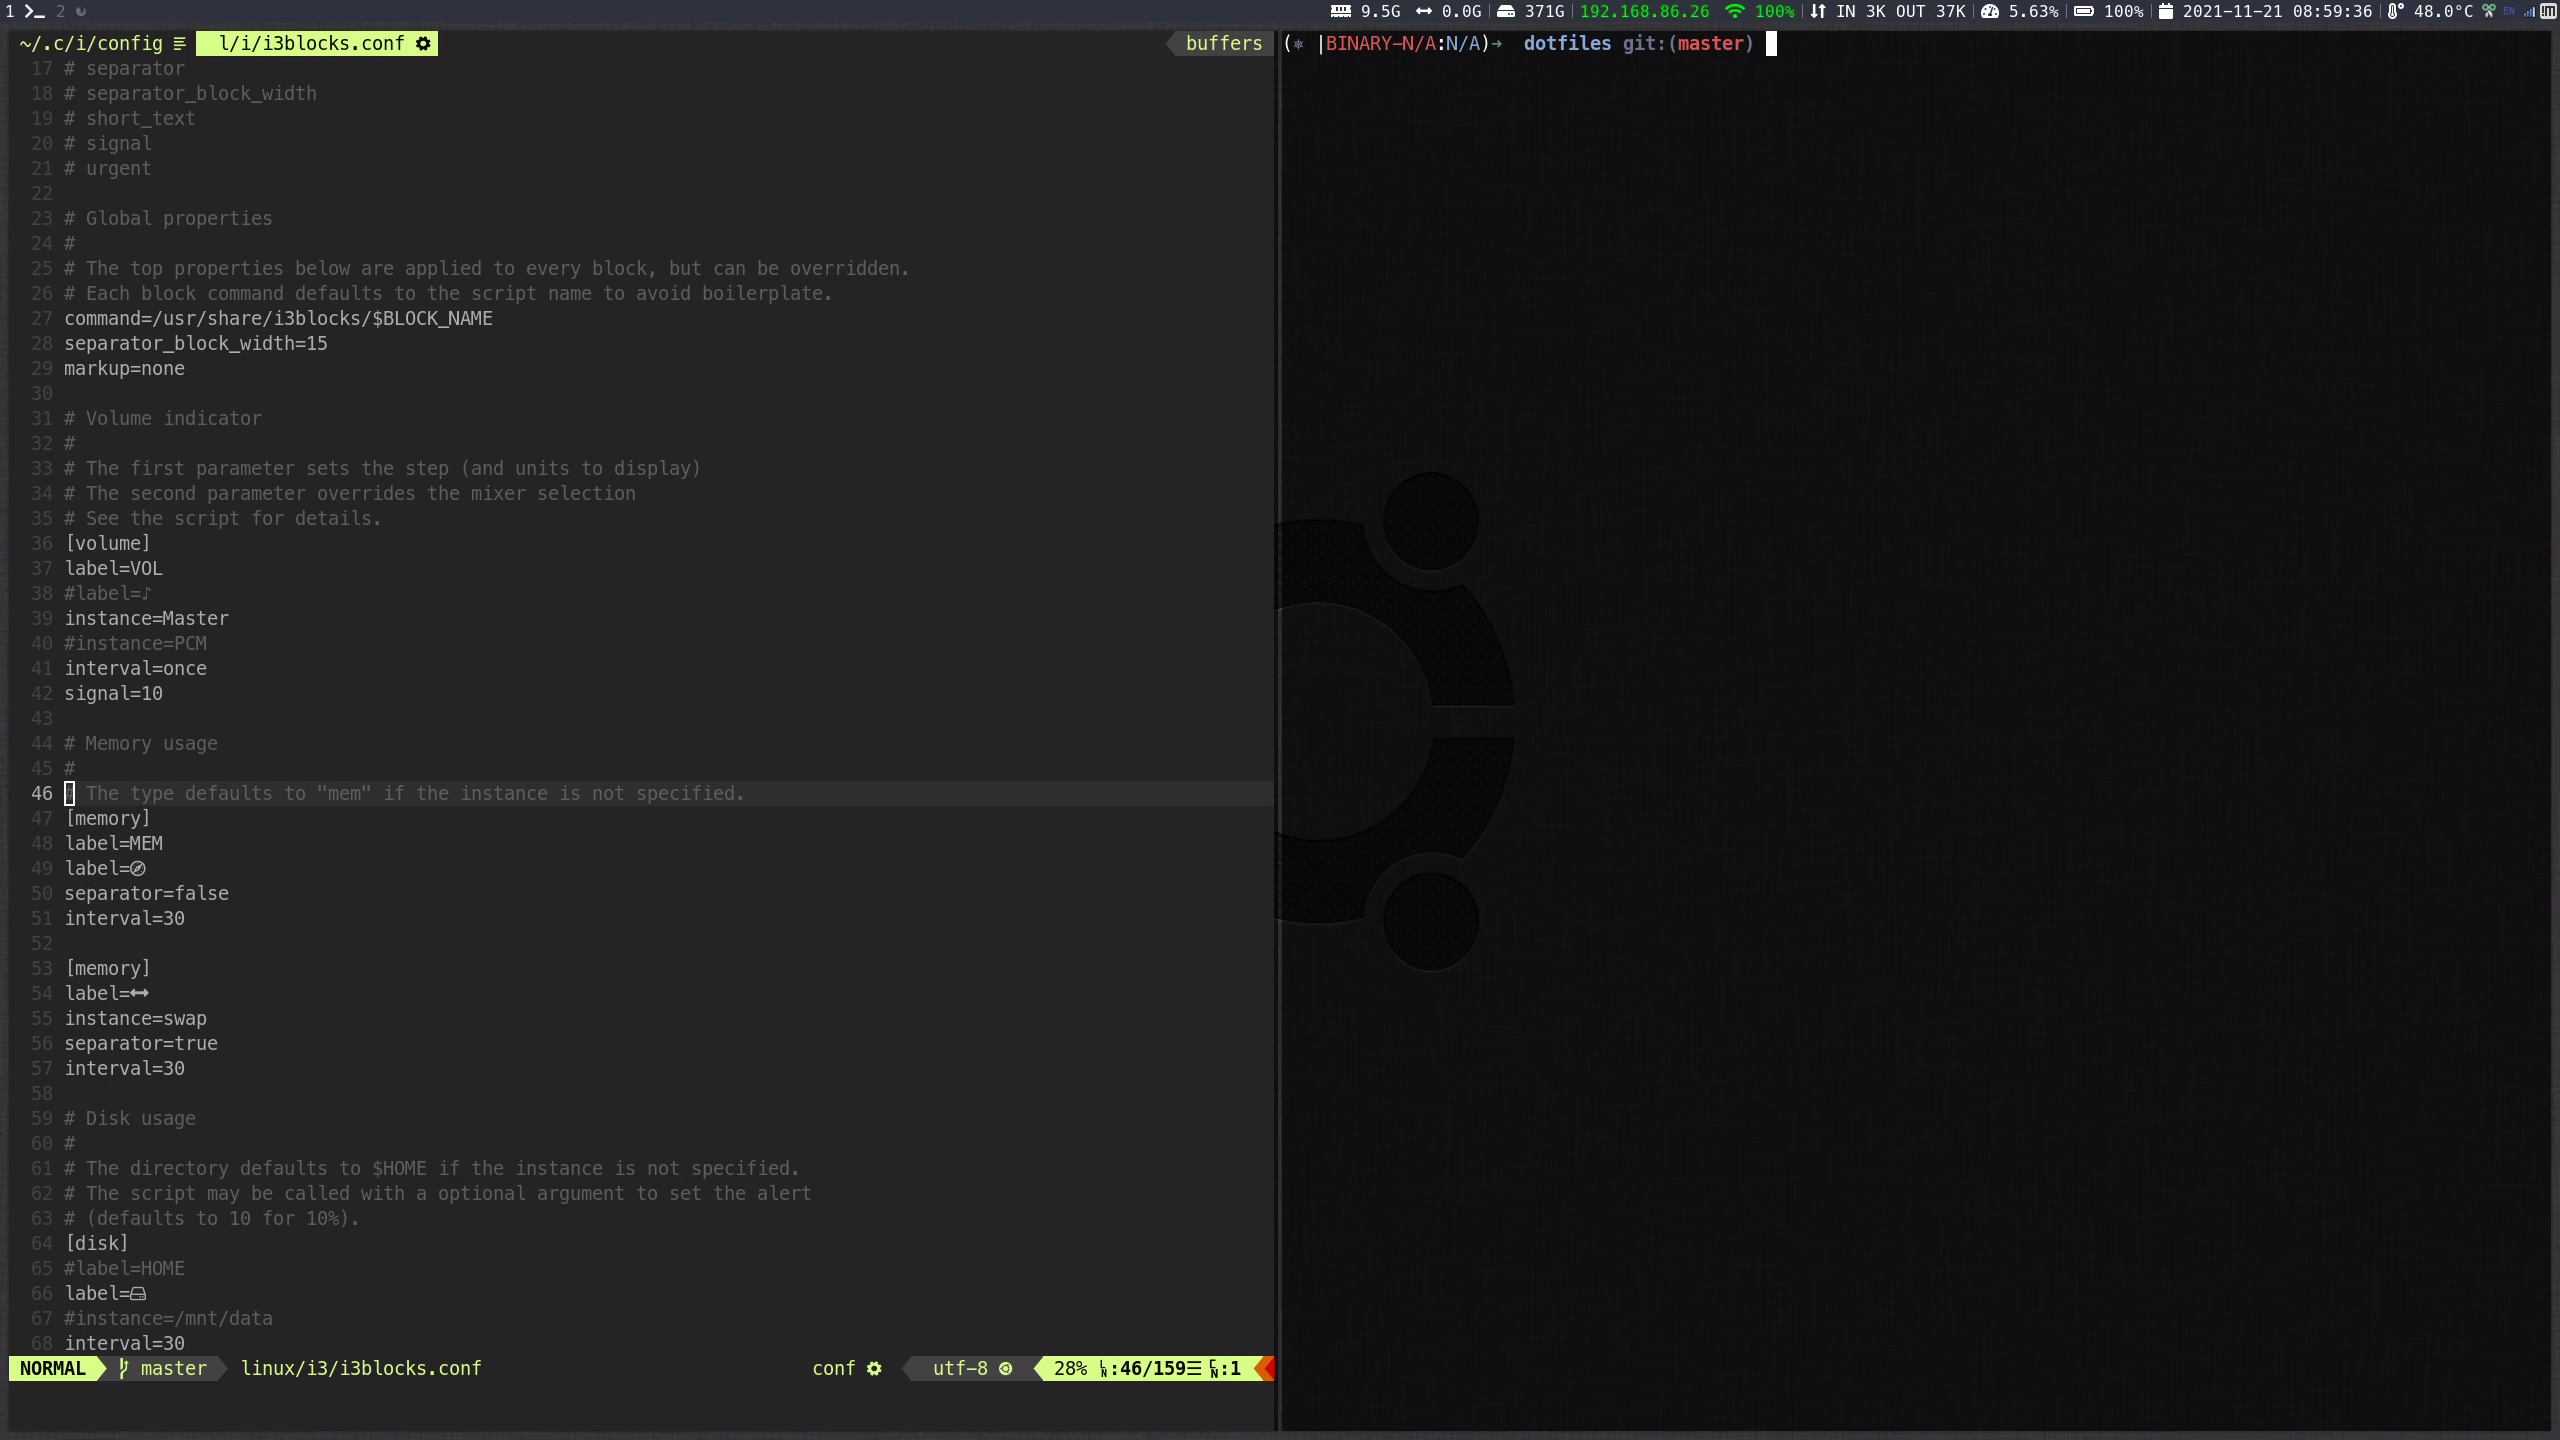
Open ~/.config/i3blocks.conf, you can enable or disable the indicator as needed.
You can use Font Awesome icons to display labels instead of text.
[disk]
label=
interval=1
And in the i3 configuration, use i3-blocks to apply bar configuration.
bar {
        status_command i3blocks -c ~/.config/i3/i3blocks.conf
        position top
        font pango:Font Awesome 5 Free Solid, MesloLGSDZ Nerd Font Mono 12
        colors {
                background $bg-color
                separator #757575
                #                  border             background         text
                focused_workspace  $bg-color          $bg-color          $text-color
                inactive_workspace $inactive-bg-color $inactive-bg-color $inactive-text-color
                urgent_workspace   $urgent-bg-color   $urgent-bg-color   $text-color
        }
}
Gaps
To have gaps between new windows, you can install i3-gaps
sudo apt install i3-gaps
Now in ~/.config/i3/config, you can add the below lines.
# i3-gaps  you need to install i3-gaps
gaps inner 5
gaps outer 5

# Only enable gaps on a workspace when there is at least one container
smart_gaps on
You can change the settings on how much space you want between windows.
Monitor
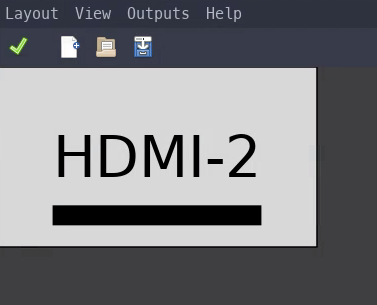
For setting up monitors, you can use an application like arandr
sudo apt install arandr
In dmenu, select arandr, and choose your monitor settings. Once done, save the configuration to some file, copy the file’s contents, and paste it into the i3 configuration file.
exec_always xrandr --output eDP-1 --off --output DP-1 --off --output HDMI-1 --off --output HDMI-2 --primary --mode 2560x1440 --pos 1920x0 --rotate normal
Compositor
To have opacity and fade effects, you can use an application like compton
sudo apt install compton
Make Compton start when i3 is being loaded.
# Compton
exec_always --no-startup-id pkill compton; compton
You can get base configuration from /usr/share/doc/compton/examples/compton.conf copy that to
~/.config/compton/compton.conf
Refer to my compton.conf.
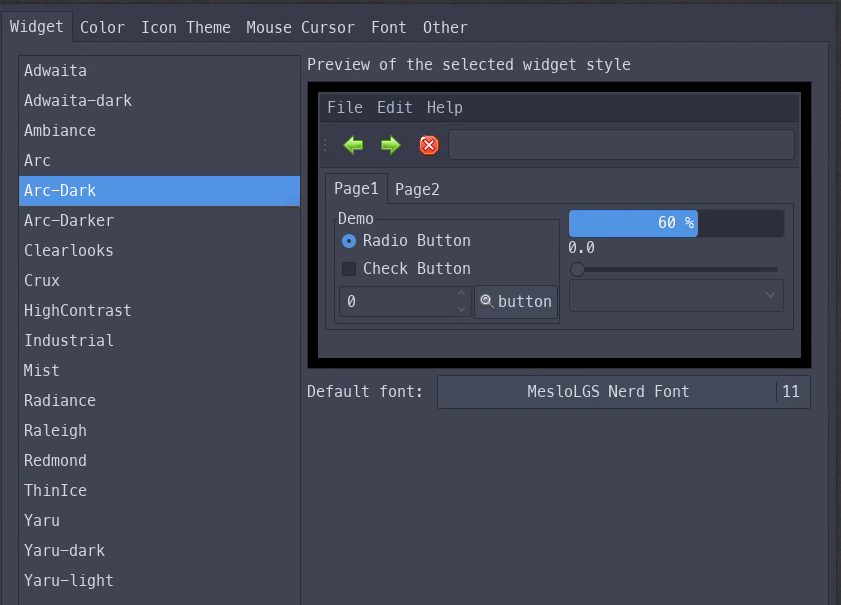
Appearance
To change the QTK Appearance, you can use lxappearance
sudo apt install lxappearance
Now you can install any theme you like.
sudo apt install arc-theme
In the terminal, type lxappearance to open lxappearance, and now you can select the theme and apply like below.
Conclusion
Above is how you can configure the i3 window manager in Ubuntu. For complete configuration please refer my dotfiles. – RC


Comments